In order to make the layout of all bots consistent, this commit
moves each bot into a folder with its name and modifies 'run.py'
so that only bots with such a structure can be executed. 'lib'
gets renamed to 'bots'.
2.7 KiB
Overview
This is the documentation for how to set up and run the yoda_bot. (yoda_bot.py)
This directory contains library code for running Zulip bots that react to messages sent by users.
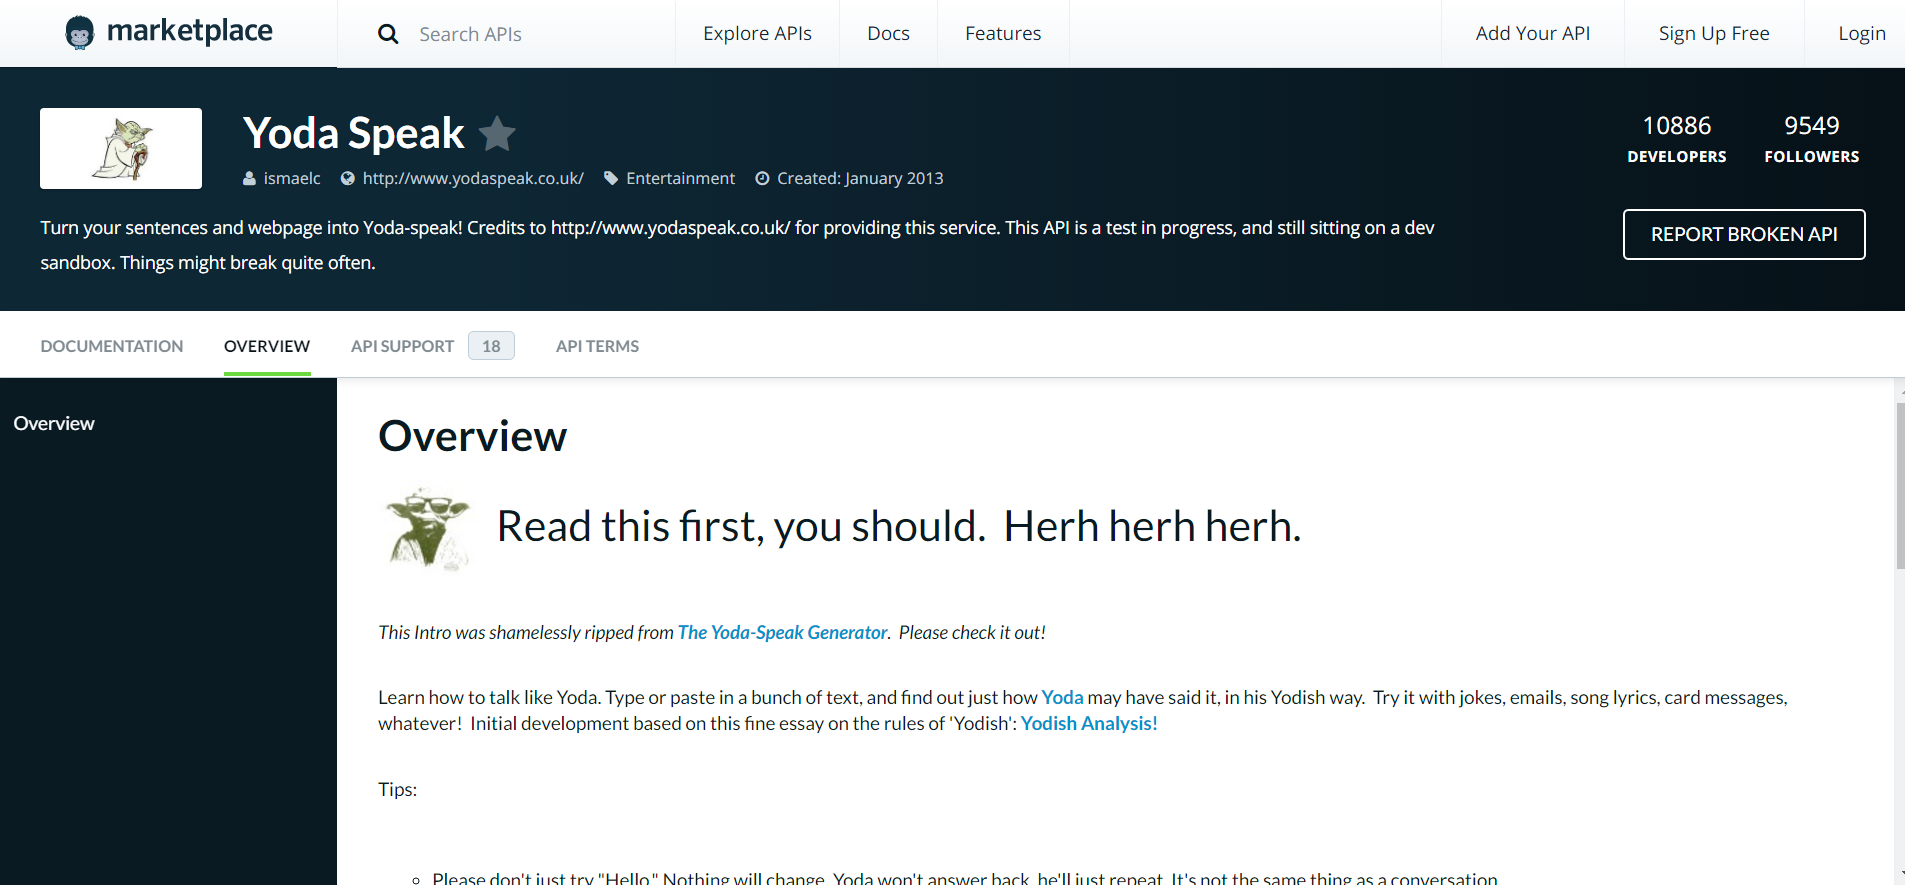
This bot will allow users to translate a sentence into 'Yoda speak'. It looks for messages starting with '@yoda'. You will need to have a Mashape API key. Please see instructions for getting one below.
Setup
This bot uses the python library unirest which is not a
dependency of Zulip. To use this module, you will have to
install it in your local machine. In your terminal, enter
the following command:
* $ sudo pip install unirest --upgrade
Note:
You might have to use pip3 if you are using python 3.
The install command would also download any dependency
required by unirest.
Before running this bot, make sure to get a Mashape API Key.
Go to this link:
https://market.mashape.com/ismaelc/yoda-speak/overview
This is the API that powers the yoda_bot. You can read more about it
on this page.
Click on the Sign Up Free button at the top and create an account. Then click on the Documentation tab. Scroll down to the bottom, and click on the Test Endpoint button. This will add the Yoda Speak API to your default application. You can also add it to a different application if you wish. Now click on the Applications tab at the top. Select the application that you added the Yoda Speak API to. Click on the blue GET THE KEYS button.
On the pop-up that comes up, click on the COPY button.
This is your Mashape API Key. It is used
to authenticate. Store it in the yoda_api_key.txt file.
The yoda_api_key.txt file should be located at ~/yoda_api_key.txt.
Example input:
@yoda You will learn how to speak like me someday.
If you need help while the bot is running just input @yoda help.
Running the bot
Here is an example of running the "yoda_bot" bot from inside a Zulip repo:
cd ~/zulip/contrib_bots
./run.py bots/yoda_bot/yoda_bot.py --config-file ~/.zuliprc-prod
Once the bot code starts running, you will see a
message explaining how to use the bot, as well as
some log messages. You can use the --quiet option
to suppress some of the informational messages.
The bot code will run continuously until you kill them with control-C (or otherwise).
Configuration
For this document we assume you have some prior experience
with using the Zulip API, but here is a quick review of
what a .zuliprc files looks like. You can connect to the
API as your own human user, or you can go into the Zulip settings
page to create a user-owned bot.
[api]
email=someuser@example.com
key=<your api key>
site=https://zulip.somewhere.com
